At most one email a week. Unfollow anytime with one click.
Transcript
The full narration of this video. The current sentence is highlighted while the video plays; click any sentence to jump there.
Show transcript
Introduction
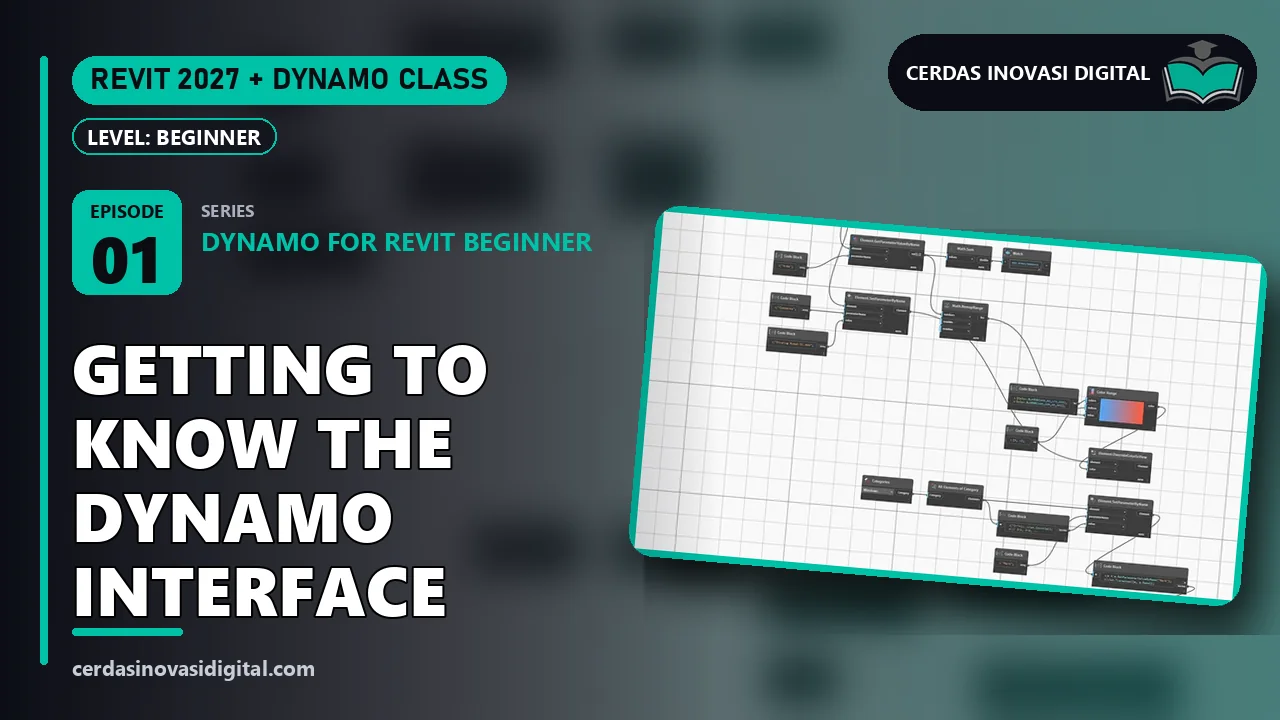
This is the final result we will create, 31 walls of a two-story house colored automatically according to their area, column comments are filled in at the same time, 12 windows are numbered J1 to J12, and then the list is exported to a CSV file. Everything is done with Dynamo, without clicking one by one. Let's start. Hello! In this tutorial, we learn Dynamo for Revit, directly using an existing two-story house project. We will ask Dynamo to do things that we usually click one by one.
Step 1: Open Dynamo from the Manage tab
The two-story house project is already open in Revit, in the 3D view. Open the Nagi theme, then in the rightmost panel of the visual programming, click the Dynamo button. Wait for the startup window to appear, then click Launch Dynamo. On the Dynamo initial page, select New to create a new empty workspace. This canvas is where we will arrange the nodes. Right-click on the canvas to bring up the node search box.
Step 2: Select all walls - Categories & All Elements of Category
Type category S, press Enter, then in the list type and select Wals. Next, search for the node All Elements of Category. To connect the cables, click the output port of the category, then click the input port of the next node. Dynamo automatically takes all the walls in the project, visible from the list description below the node. Add the node List.Count and connect the wall list to its input.
Step 3: Count the number of walls - List.Count & Watch
This node counts how many items are in the list. Then add the node Watch to display the result on the canvas. Our house actually has 31 walls.
Step 4: Total wall area - GetParameterValueByName & Math.Sum
Now we will calculate the area. Double-click on the canvas to create a code block, then type the text area within quotes, ending with a semicolon. This is the name of the area parameter in Revit. Add the node Element Get Parameter Value by Name. Enter the element filled with the wall list, and the parameter name filled with the code block above. The result is a list of the area of each wall. Sum them up with mat.sum, then display with watch. The total wall area of this house is about 520 square meters.
Step 5: Fill the Comments parameter for all walls
In addition to reading, Dynamo can also write data to Revit. Create a code block containing the parameter name, comments, and a second code block containing the text. House wall dl004. Add the node element set parameter by name. Connect the wall list to the element, comments to the parameter name, and text to the value. Since Dynamo runs automatically, all 31 walls are filled at once, without clicking one by one.
Step 6: Color walls according to their area - RemapRange & Color Range
Now we will color the walls according to their area. The node matermaprange converts the list of areas into numbers from 0 to 1. The smallest wall has a value of 0, the largest has a value of 1. Move the canvas so there is space. Create a code block containing a list of two colors with color.by.argb. Blue for small walls, red for large walls. The next code block contains the index position of the color, 0 and 1. The node color range receives the color, index, and area value from before. Then it generates one color for each wall. Finally, the node element override color in view applies that color to the walls in the currently active view in Revit. Let's check in Revit.
Step 7: Check the result in Revit - color & Garments
Reduce the Dynamo window size, then change the visual style to consistent color so the colors display clearly. Small walls are blue, large walls are red. Click one wall, then scroll the properties panel to identity data. The comment column is already filled by Dynamo.
Return to Dynamo. Next, we'll assign automatic window numbers. Drag the vase to an empty area. Select all windows using node categories, this time choose windows, then all elements of category. Create a code block and type, J hyphen. Plus, within parentheses 1 dot-dot list.countway letter way automatically becomes input port. We'll connect it to the window list. 1 dot-dot N means a sequence from 1 to N, so it forms J1, J2, and so on. Comments with two slashes explain the result. Another code block contains the parameter name mark. Connect everything to the element set parameter by name, and each window gets a number directly.
Step 9: Export the window list to a CSV file
Finally, we'll export the window list to a file. Create a code block with two lines. The first line reads the mark parameter from each window. The second line combines the mark and window type name, then list.transpose turns it into table rows. The next code block contains the file location and CSV file name. Add the node data.export.csv, connect the file location to file part, and data table to data. The window list file contains 12 rows directly saved, ready to be opened in Excel. Save the grab with ctrl S, name it hitung dinding jendela, then press enter.
Step 10: Save the Dynamo graph
This DN file can be opened again and used in other projects.
Done! Dynamo graph for a 2-story house
Done. One Dynamo grab calculates, fills, colors, numbers, and exports data for our two-story house. Try it out! Want your Revit work to be much faster? Cerdas Inovasi Digital offers Revit and Dynamo courses, BIM modeling services and Dynamo script creation, as well as selling two-story house project files along with the Dynamo grab from this tutorial. Contact our WhatsApp, or visit cerdasinovasidigital.com. Thank you for watching!
Ask the class material
Type a question or keyword; we find the part of this episode that explains it and jump the video there.
My notes
Notes are saved with the current video time and are only visible to you.
Questions & answers
Stuck on a step? Ask here; the instructor and other learners can answer.
No questions yet.
Your instructor
Cerdas Inovasi Digital Team
Software developers, BIM & 3D engineers, and AI practitioners
52 video classes1,276 episodes
We build software, BIM models, games and AI automations for clients every day, and turn that hands-on work into step-by-step classes: every step is shown on screen and comes with a PDF guide you can keep.