At most one email a week. Unfollow anytime with one click.
Transcript
The full narration of this video. The current sentence is highlighted while the video plays; click any sentence to jump there.
Show transcript
Introduction
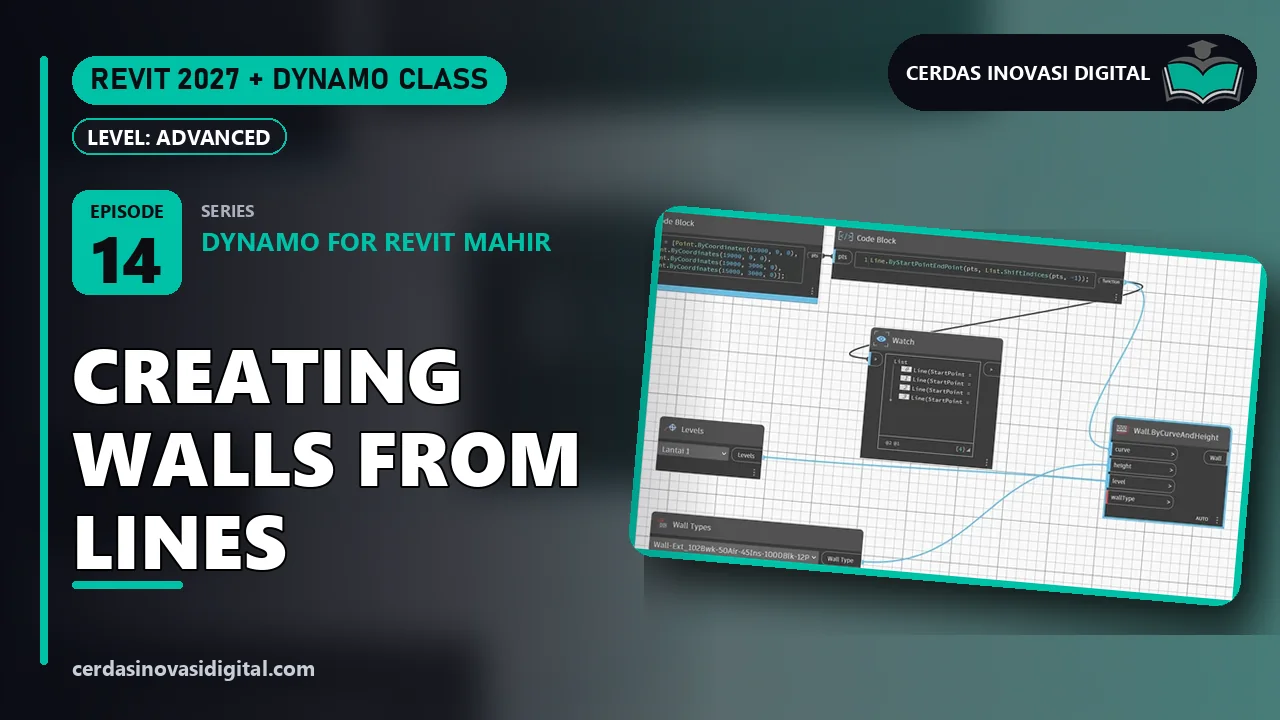
Welcome to the Dynamo for Revit beginner to advanced series. With Dynamo, repetitive Revit tasks can be automated, like the graph you see here. But before making one, in the first episode, we'll first get to know the Dynamo workspace. Let's start. Hello! In this first episode, we'll get to know Dynamo, a visual programming tool already included in Revit. We haven't created a complex graph yet. The goal is just to get familiar with the Dynamo workspace, so that the following episodes feel easier.
Step 1: Open Dynamo from the Manage tab in Revit
A two-story house project is already open in Revit. Open the Nagi theme, then on the rightmost visual programming panel, click the Dynamo button. Wait for the startup window to appear, then click Launch Dynamo. In a few seconds, the Dynamo window opens in full screen.
Step 2: Create a new workspace with the New button
The first thing you'll see is the Dynamo home page. Here there is a list of the last graph files and the Open and New buttons. We click New to create a new empty workspace.
Step 3: Recognize the parts of the Dynamo screen
Now let's get to know the different parts of the screen. At the top is the menu bar. On the left is the library, where all the nodes are stored. The middle area, which is mapped, is the canvas, where we arrange the nodes. Above the canvas, there is a zoom button, and below is a toolbar that controls how the graph runs.
Step 4: Menu bar - File, Edit, View, Packages, Help
The menu bar has several menus. The File menu is for creating, opening, and saving graphs. The Edit menu contains commands like undo, copy, and paste. The View menu controls the canvas and preview display. The Packages menu includes additional packages from the community, and the Help menu provides guides and examples. The library is a repository of all nodes, grouped by category.
Step 5: Library - node warehouse based on categories
Click the input category to view its contents, then close it again. The same applies to lists and mats. If it's difficult to find, type the node name in the search box, for example 'watch', and Dynamo will display the results immediately.
Step 6: Place the first node - Code Block and Watch
Now we place the first node. Double-click on the canvas to create a code block, then type the number 25 and end with a semicolon. Then right-click on the canvas, find the 'watch' node, and press Enter. Connect the output of the code block into the 'watch' node by clicking twice. The 'watch' node immediately displays the number 25.
Step 7: Navigate the canvas - zoom, pan, and corner buttons
Next, navigate the canvas. Scroll the mouse wheel to zoom, and hold the middle button to pan the canvas. The plus and minus buttons in the top-right corner also zoom in and out. Get used to using the mouse for faster work.
Step 8: Run bar - Automatic and Manual modes
Finally, the run bar at the bottom left. Automatic mode runs the script whenever there is a change. Manual mode only runs when we press the run button.
Done! You now know the Dynamo interface
Done. You have now learned the Dynamo interface. See you in the next episode. Want to master Dynamo and Revit? Cerdas Inovasi Digital offers Revit and Dynamo courses, BIM modeling services and Dynamo script creation, as well as selling project files and grab scripts from this tutorial series. Contact us via WhatsApp, or visit cerdasinovasidigital.com See you in the next episode.
Ask the class material
Type a question or keyword; we find the part of this episode that explains it and jump the video there.
My notes
Notes are saved with the current video time and are only visible to you.
Questions & answers
Stuck on a step? Ask here; the instructor and other learners can answer.
No questions yet.
Your instructor
Cerdas Inovasi Digital Team
Software developers, BIM & 3D engineers, and AI practitioners
53 video classes1,281 episodes
We build software, BIM models, games and AI automations for clients every day, and turn that hands-on work into step-by-step classes: every step is shown on screen and comes with a PDF guide you can keep.