At most one email a week. Unfollow anytime with one click.
Transcript
The full narration of this video. The current sentence is highlighted while the video plays; click any sentence to jump there.
Show transcript
Introduction
This is the final result of this episode, 6 doors and 10 windows installed on the walls. Each opening automatically punches through the wall, has the correct swing direction, and its dimensions are recorded for the door and window schedule later. Let's start. Hello, welcome back to the ArchiCAD House Series. The exterior and interior walls are already standing. Today we are installing doors and windows from the ArchiCAD object library. Doors and windows are smart objects. Once placed on the wall, the wall automatically gets a hole and the plan symbol follows the standard drawing.
Step 1: Door Tool and main door
Double-click the Door Tool to open the Door Default Settings. From the library, select the panel door with 1 leaf. Set the width to 1000 and height to 2100 mm for the main door, with a threshold height of 0 because the door is attached to the floor. Click OK. Then click the front wall between SA and B at a distance of 1200 from SA, then click again on the inner side to determine the door leaf swing direction into the living room.
Step 2: Bedroom door, side & KM door
For bedroom doors, simply change the width in the info box to 800. Install the main bedroom door on the SB wall, the second and third bedroom doors on the SC wall, and the side door on the back wall leading to the kitchen. We make the bathroom door smaller, 700 mm. Notice the door swing arc in the plan that shows the door leaf movement range.
Step 3: Window Tool and bedroom window
Now the windows. Double-click the Window Tool. Select the casement window with 2 leaves, width 1200, height 1200, and threshold height 900 mm from the floor. Install in the living room and all bedrooms. For the main bedroom in front of us, widen to 1600, and in the family room 1800 so more light can enter.
Step 4: Kitchen window & bowenlicht
Two special windows. Kitchen window 900 x 900 with threshold 1100, so it is above the kitchen table. Bathroom uses fenlik frame, small window 600 x 400 with threshold 1700, for ventilation without reducing privacy. Zoom in the plan to see the opening symbol.
Step 5: Opening symbol on floor plan
Doors are drawn with leaves and swing arch, windows with glass lines in the middle of the wall and threshold line on the outside side. Holes in the wall are formed automatically, and if the door is moved, the hole moves with it. That is the advantage of BIM compared to regular line drawings.
Step 6: Doors & windows in 3D
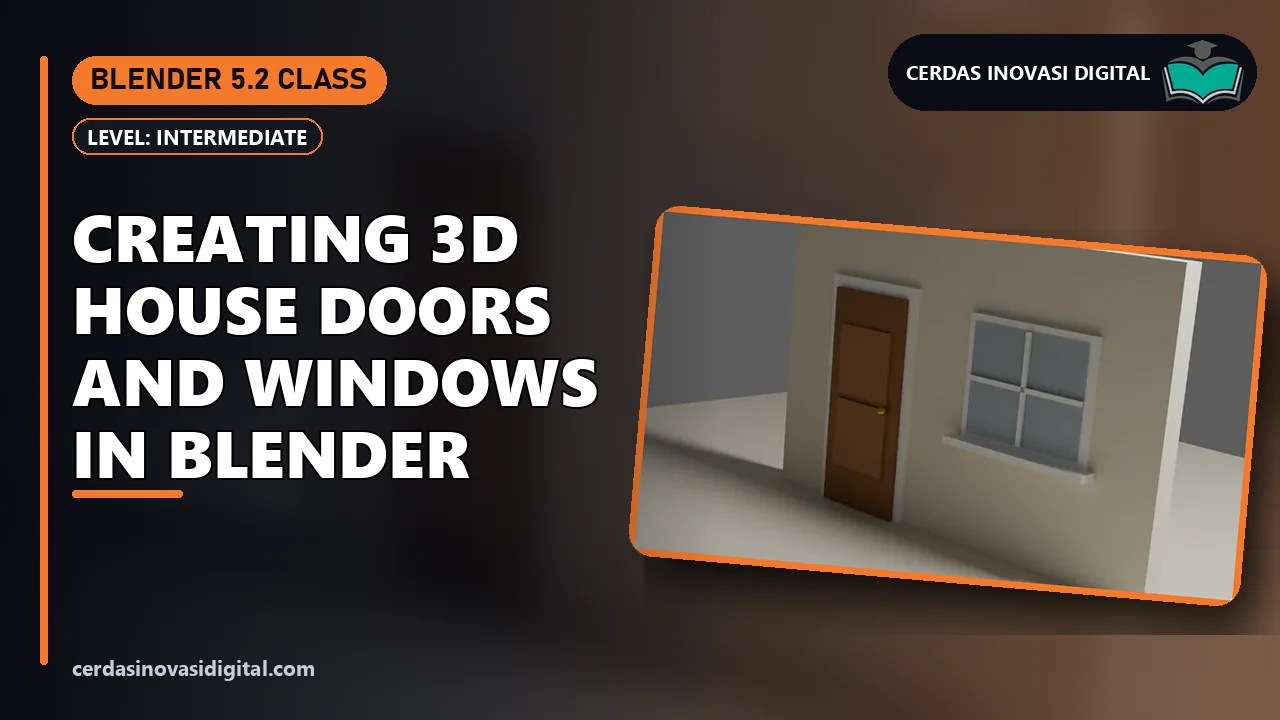
Open window 3 and orbit around the house. Wooden frame, door leaves, and window glass appear fully, and the threshold height is clearly visible. Save the project with control S.
Done!
Done. We have installed 6 doors and 10 windows using the door tool and window tool, setting width, height, threshold, and opening direction. In the next episode, we create the floor slab, Terrace, columns, and balustrade. Working on a house design, architecture studio task, or civil engineering final project? Cerdas Inovasi Digital helps with house design, complete working drawings, BIM models in ArchiCAD and Revit, up to 3D visualization, as well as opening ArchiCAD and BIM courses. Want to master the entire series, from project setup to layout working drawings and IFC export? All 8 episodes, complete with step-by-step PDF guides and project model files for the house, are available for premium tutorial subscribers. Subscribe starting at Rp69.000 per month, save 28% with the 12-month package, or one-time payment of Rp999.000 for lifetime access. Want just one class? Buy single classes with lifetime access. Subscribe now at the premium page cerdasinovasidigital.com. Contact us via WhatsApp, or visit cerdasinovasidigital.com. Thank you for watching, see you in the next episode.
Ask the class material
Type a question or keyword; we find the part of this episode that explains it and jump the video there.
My notes
Notes are saved with the current video time and are only visible to you.
Questions & answers
Stuck on a step? Ask here; the instructor and other learners can answer.
No questions yet.
Your instructor
Cerdas Inovasi Digital Team
Software developers, BIM & 3D engineers, and AI practitioners
53 video classes1,290 episodes
We build software, BIM models, games and AI automations for clients every day, and turn that hands-on work into step-by-step classes: every step is shown on screen and comes with a PDF guide you can keep.